
What makes some YouTube content stand out from the rest?
The ring light!
Finding the perfect YouTube lighting setup might seem daunting, but all it takes is some basic knowledge and a bit of trial and error. Once you’ve experimented a bit, you’ll naturally choose the lighting setup that works for you.
Let’s break down why you should care about YouTube lighting and how to achieve the best lighting for YouTube videos with the right setup.
Why YouTube Lighting is Important
While it might not seem like a big deal, your YouTube lighting setup can make or break your content. Lighting just makes everything look better (even if the viewer doesn’t know why). It instantly engages your audience and makes them respect you before you’ve even said a word on camera.
The right vlog lighting can turn an average video into a viral, engaging piece that keeps on giving. On the flip side, subpar lighting immediately puts your content in a lower tier.
The good news is, it's not hard to get a professional lighting setup with just a few key pieces of gear. While a three-point lighting setup is ideal, you can still achieve professional content with one and two-point setups. Let’s go over the components of all three setups for vlog lighting, plus the best lights for video.
The 3 Types of YouTube Lighting Setups
When it comes to vlog lighting, a basic understanding of the three main lighting setups will get you far. Here’s a breakdown of the three main lighting setups you can choose from depending on your equipment and content needs.
One-Point Setup
What You Need
If you want a dramatic feel for your YouTube lighting, you’ll need just one key light. This type of lighting illuminates the subject while creating texture.
Best Lights for One-Point Video
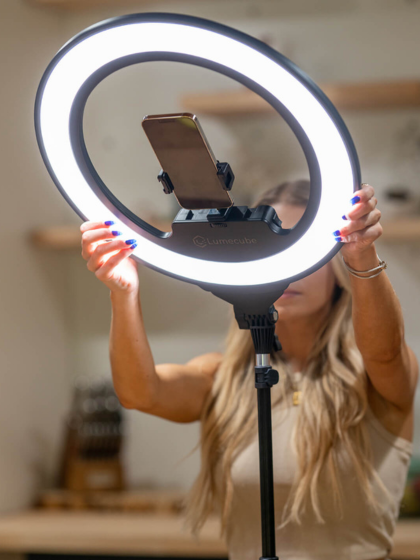
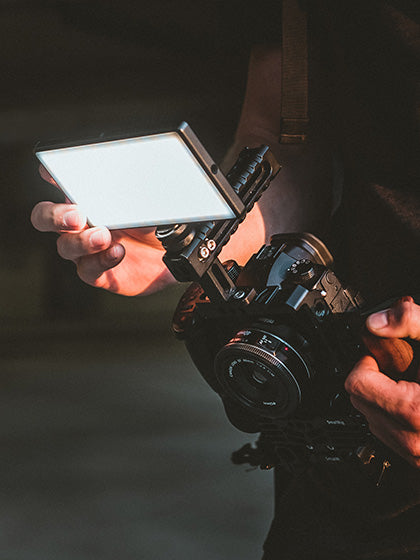
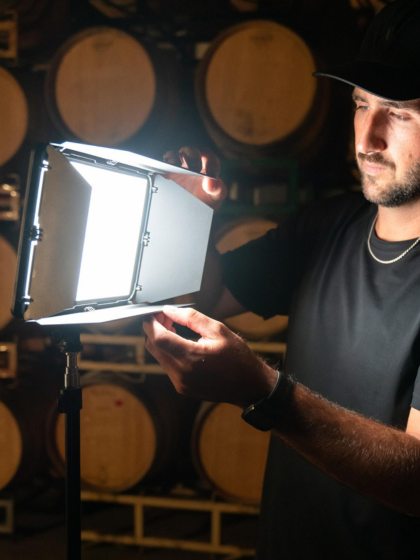
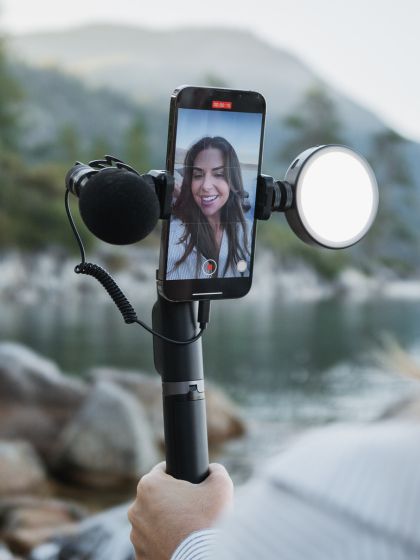
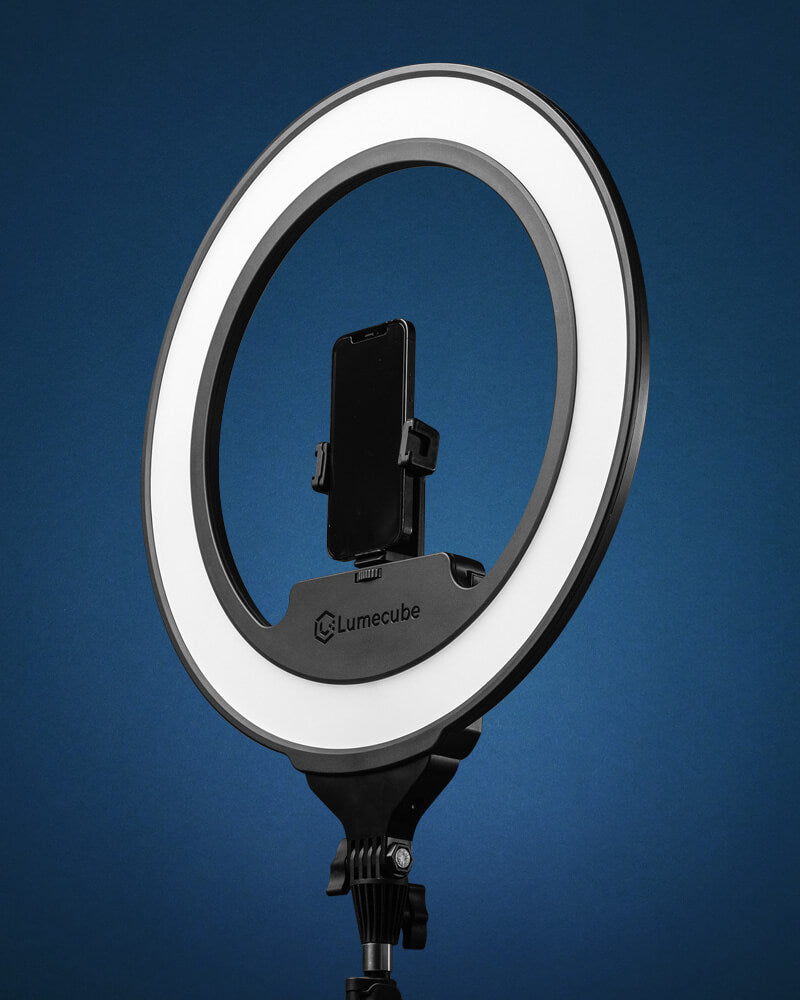
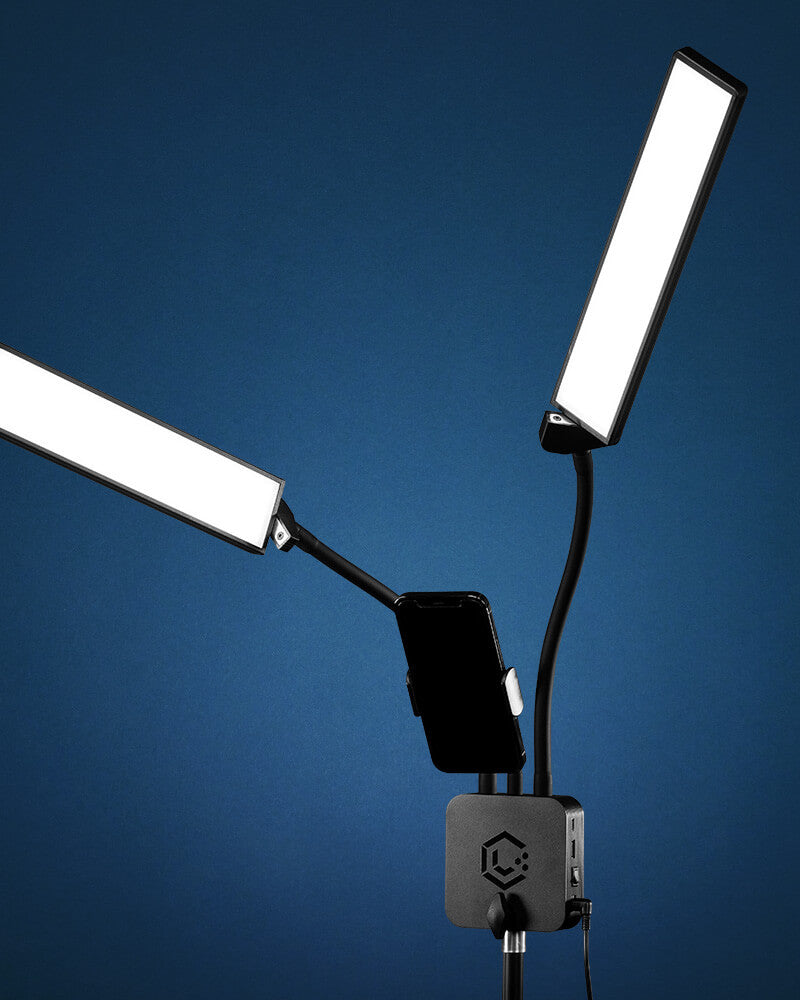
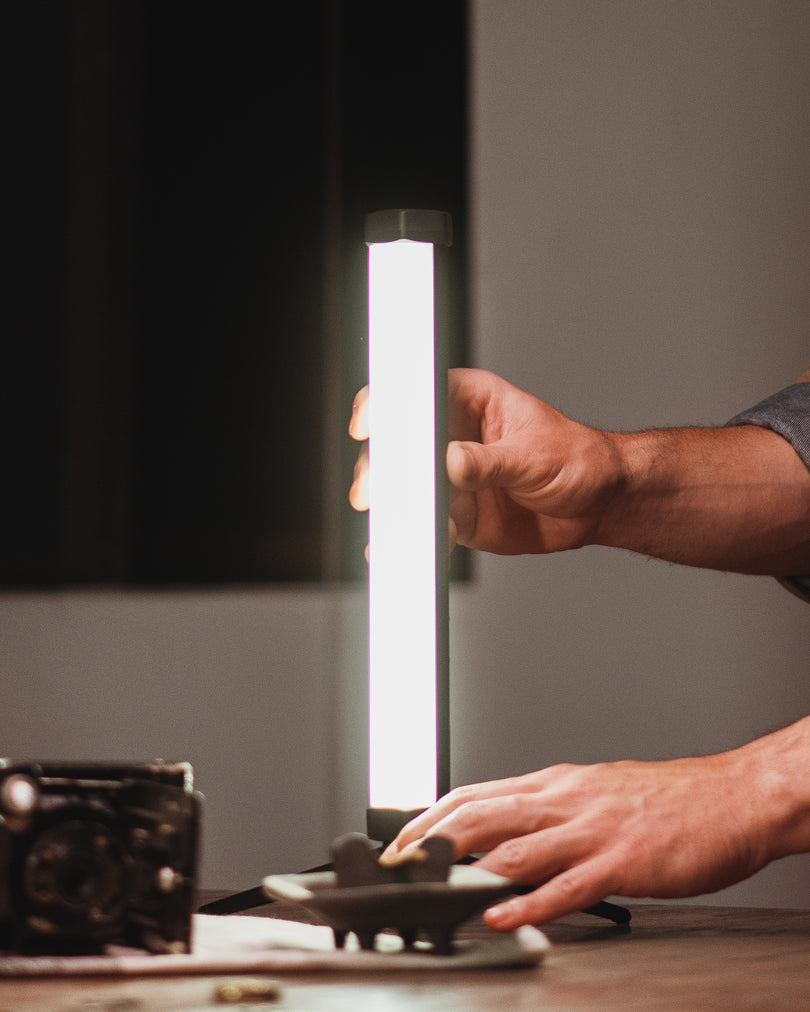
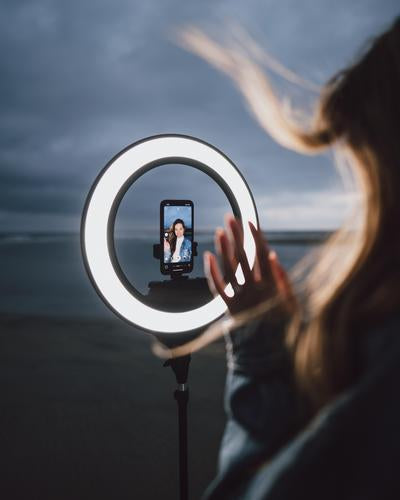
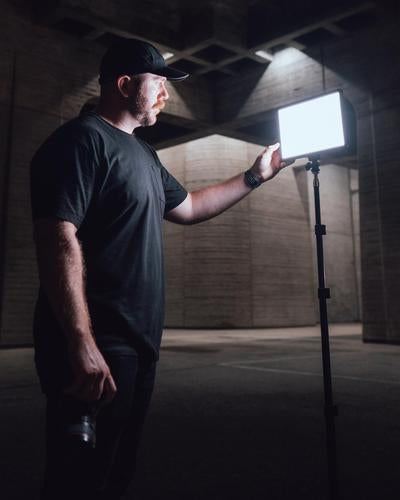
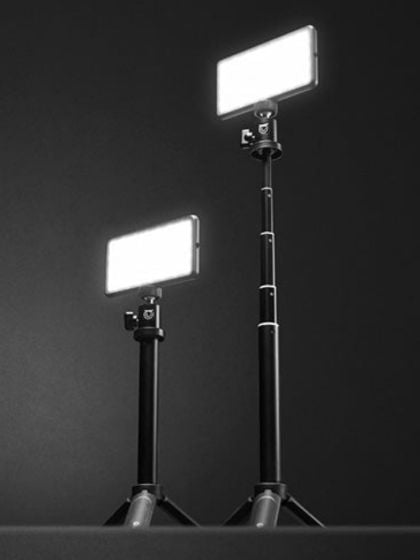
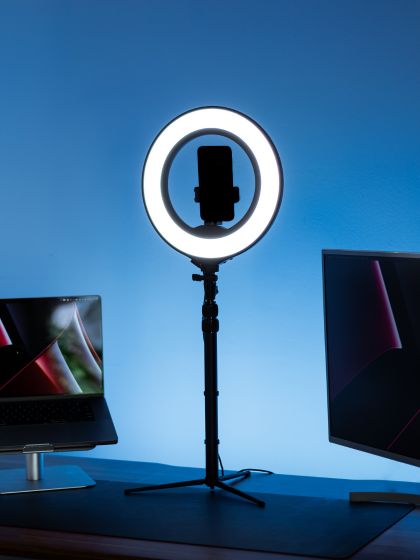
We’d recommend the Lume Cube Panel Pro Light Shaping Kit for this setup. The diffuser will give you the soft light you need, and the barn doors ensure the light doesn’t spill out onto anything but your subject. A ring light like the Lume Cube Cordless 18" Ring Light would also work as a key light to evenly illuminate your subject.
How to Set Up One-Point Lighting
For this setup, you’ll place the light off to the side of your camera at about 45 degrees. You will then raise it up above your subject and shine the light down onto them. This will cast a natural shadow of the chin down onto the neck for a natural look.

Two-Point Setup
What You Need
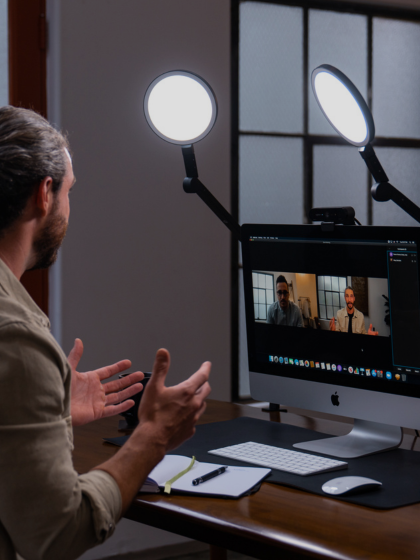
If you’re looking for a more bright and airy look for your shot, you’ll use both a key light and a fill light. Fill lighting helps you minimize depth and intensity of the shadows created by the direct lighting. Your fill light should be about half the power of your key light.
Best Lights for Two-Point Video
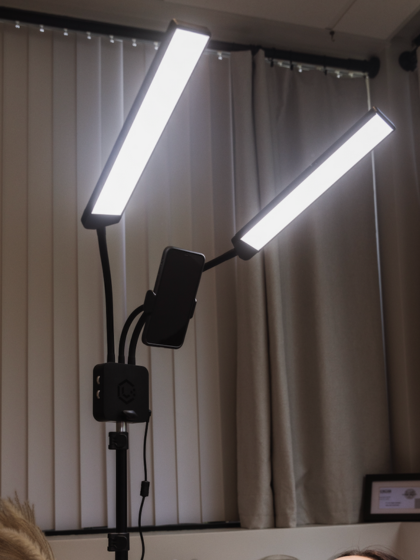
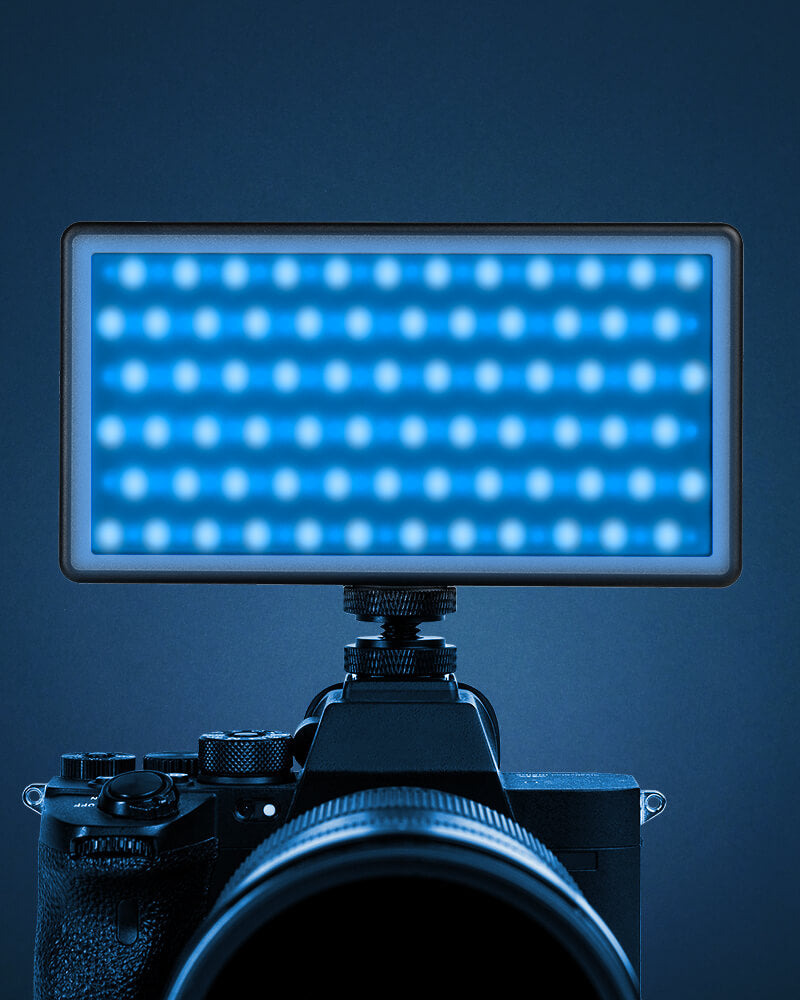
For a fill light source, we like to use another diffused Panel Pro and dial down the brightness of the light using the manual controls or the Lume Cube app. The Lume Cube Edge Light 2-Pack, and Broadcast Lighting Kit 2-Pack are also excellent options for a two-light setup.
How to Set Up Two-Point Lighting
For this two-light setup, you’ll place the fill light on the opposite side of the camera from your key light. If you don’t have a dimmable light, you can always pull it further away from your subject to lessen the intensity.
Tip: Two-point lighting is great for filming subjects who are wearing glasses. Just move the two lights off to the side of your subject, which removes the glare from the glasses frames.

Three-Point Setup
What You Need
If you really want to take your content to the next level, three-point lighting is the way to go. This separates your subject from the background and takes your content from B grade to A-plus every time. Three-point lighting includes a key light, a fill light, and a backlight.
Best Lights for Two-Point Video
Back lighting adds dimension to separate the subject from the background. A good back light defines features and softens out hard edges. We like to use another Panel Pro as a backlight for this reason.
How to Set Up Three-Point Lighting
You’ll create this lighting setup by arranging your key light and fill light as in the two-point setup above. You will then add one more light behind your subject that hits the back of his or her head.
When setting up your vlog lighting, you might consider a motivated lighting source for your backlighting. Motivated lighting is when a light in the scene imitates a natural source within the scene.
For example, you can use your second warmly-lit Panel Pro as a backlight that hits the back of the subject’s head. In the frame, you could place a decorative lamp behind the subject that appears to be the source of the light. This gives your scene a natural and multidimensional look and feel.
More Tips to Get the Best Lighting for YouTube Videos
Now that you know about the three different lighting setups, here are some more tips to help you achieve the best lighting for YouTube videos.
- Experiment, experiment, experiment. Trying out a variety of YouTube lighting setups is the only way you’ll learn! Use different combinations of lighting sources, angles, and environments until you find one that speaks to you.
- Test your lighting before you shoot. Don’t rush into a brand new vlog lighting setup without thoroughly vetting it first. There’s nothing worse than shooting an entire video and realizing that the lighting is completely off afterwards.
- Consistency is key. Once you’ve found the lighting setup you like, lock it in. Write it down and take a picture of it for reference to help you remember exactly what it looks like. Lighting consistency helps meet the (high) visual standards of your audience. It can go a long way in building a reputable and recognizable brand for yourself.
- Get matchy-matchy. While it isn’t 100% necessary as a beginner, you want to try to match light and color temperature across all lighting points for your YouTube lighting. This creates a unified feel across the entire scene.
- Learn from the best. You can get tons of YouTube lighting inspiration by watching prominent content creators. Examine how your favorite YouTubers use light and see if you can replicate it using the lighting equipment you have.

Get the Best Lights for Video
Ready to create your perfect setup? Here are our picks to help you get the best lighting for YouTube videos right away:
One-Point Setup
Key light: Panel Pro Light Shaping Kit or Cordless 18" Ring Light
Two-Point Setup
Key light: Panel Pro Light Shaping Kit or Cordless 18" Ring Light
Fill light: Panel Pro
You can also use the Edge Light 2-Pack or Broadcast Lighting Kit 2-Pack to create a two-point setup.
Three-Point Setup
Key light: Panel Pro Light Shaping Kit or Cordless 18" Ring Light
Fill light: Panel Pro
Back light: Panel Pro

