


Full Video Transcription Below
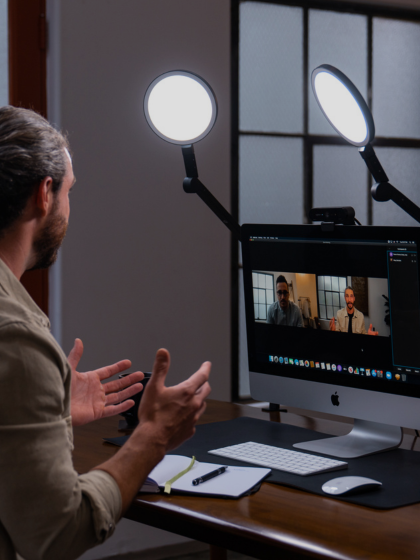
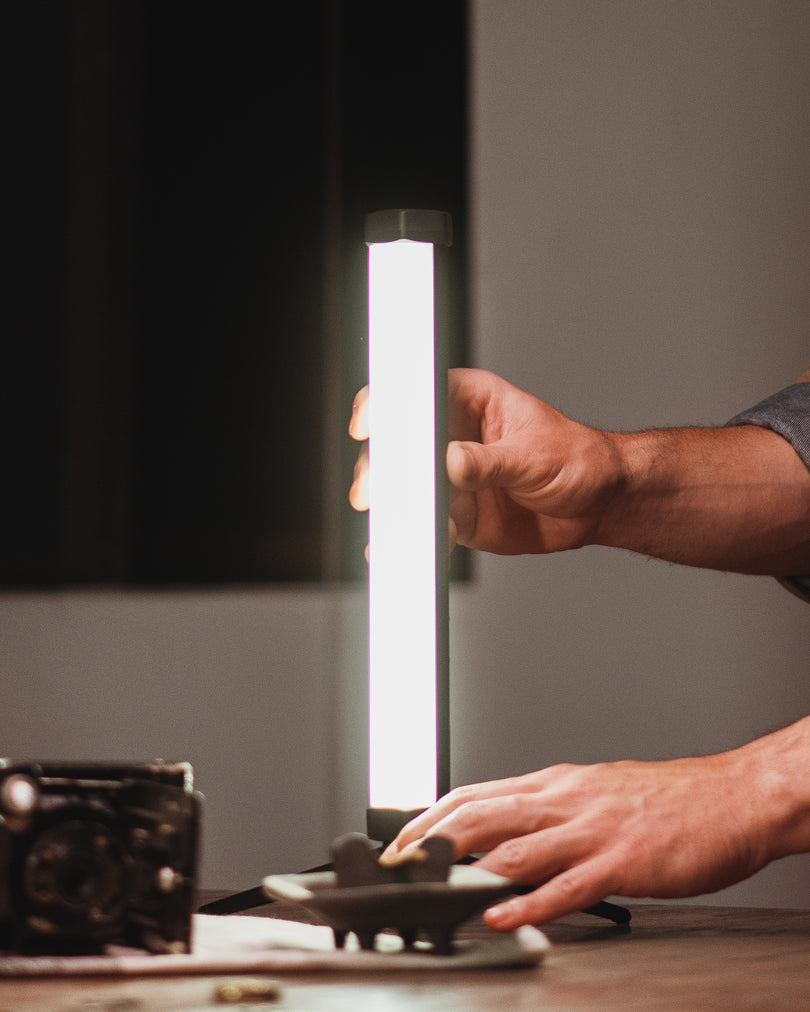
Hey guys, Trevor here to break down the must-have accessory for any monitor or desktop - The Lume Cube Monitor Bar.
Whether you work at a desk, edit photos/videos, or live stream, it’s highly likely you’re staring at a screen all day, every day. This exposure to your screen can cause headaches, eye strain, and an overall non-productive work environment. By mounting the Monitor Light Bar to the top of your screen, you filter out the bad wavelengths of light and reduce the damaging light that hits your eyes and causes strain. It also lights up your workspace and sets the mood for productivity without taking up any space.
Also, It doesn’t hurt that this screen bar looks great and is an easy and affordable way to level up your workspace.
_______________________________________________________________________
What’s Included
(1) Monitor Light Bar
(1) USB Cable
_______________________________________________________________________
How To Use
When you receive your Monitor Light Bar, open the box, and you’ll see the Monitor Light Bar itself and the USB-C power cable.
First, go ahead and insert the USB-C cable into the back of your Light Bar. Then, mount your Screen Bar to the top of your display. Set the monitor bar nice and centered on the top of your screen. Then, use the back counterweight and rest it against the back of your display so it balances like so.
Insert the other end of the power cable into a USB-A port. These are typically available on the back of the monitor, the side of a laptop, or on the back of an Edge light. But you can always plug it into a wall outlet using a power block.
Once you’re plugged in, locate the Lume Cube logo on the right side of the light bar. This is where you’ll operate your light.
Press on the logo to turn the light on. Twist the knob clockwise to turn up the brightness.
Press the knob once again to adjust the warmth of your light. Twist clockwise to warm up the light down to 2900k, and counter to cool it down to 6000K.
Press and hold to turn your light off.
If you’re a gadget person like me and want to control your light bar wirelessly, we’ve created a wireless remote that is sold separately. Simply place this remote on your desk within arm's reach to wirelessly control and operate your lighting.
Plug in your Monitor Light Bar to a power source, and within 10 seconds, hold down on the remote button until the monitor light bar flashes three times. Then, press the remote once, and they will be paired!
The same controls apply to the wireless remote as the on-light control knob.
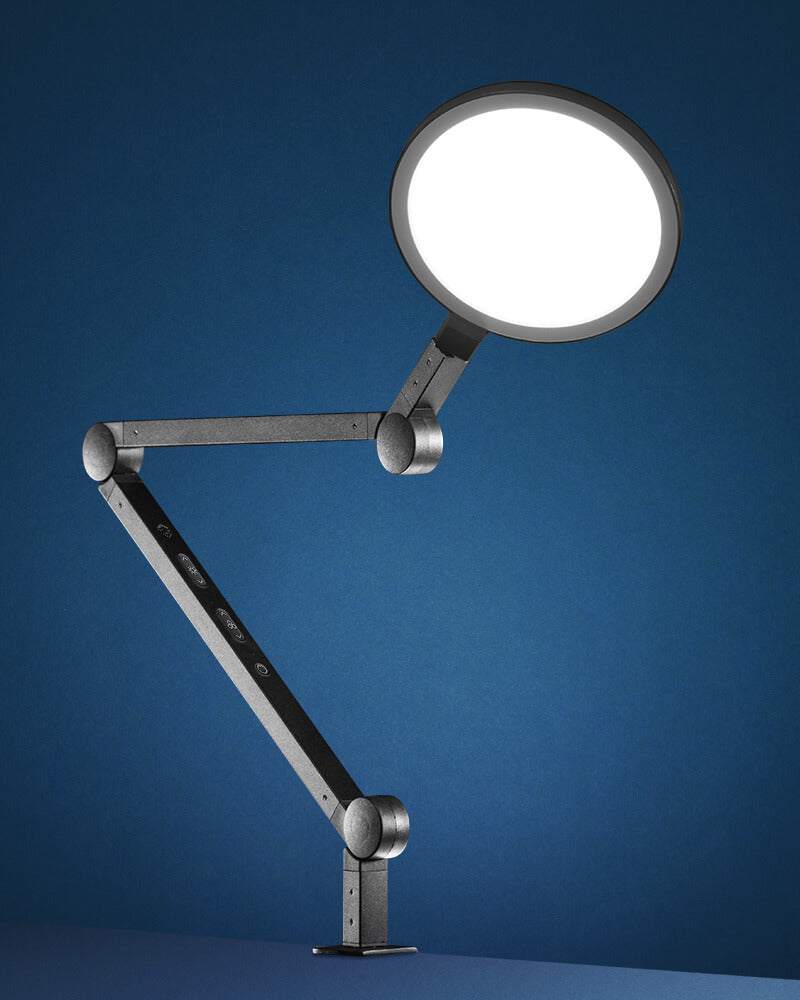
We’ve installed a tilt head on top of the monitor bar, so you can adjust the angle of which it lights up your screen and desk. Keep in mind, you want your light bar to shine light downward and you shouldn’t see the naked LEDs. They should be blocked by that front ledge so they don’t distract you while working.
Well, there you have it, a breakdown of how to use the Lume Cube Monitor Light Bar. Have any further questions we didn’t cover? Send us a message on social, reach out to support@lumecube.com, or comment in our Lume Cube community group on Facebook.
We’ll see you next time.